I apologize for the format errors in this post. Blogspot has changed things around from how it was nearly two years ago and it is taking some getting use to.
Due to searching for a new house and better city to live in there wasn't much work on the Batboat in 2012.
Several things accomplished, however. Two were the dashboard and steering wheel horn button.
I have been preoccupied with the new house and don't really recall much detail but most details can be found by searching the blog archives.
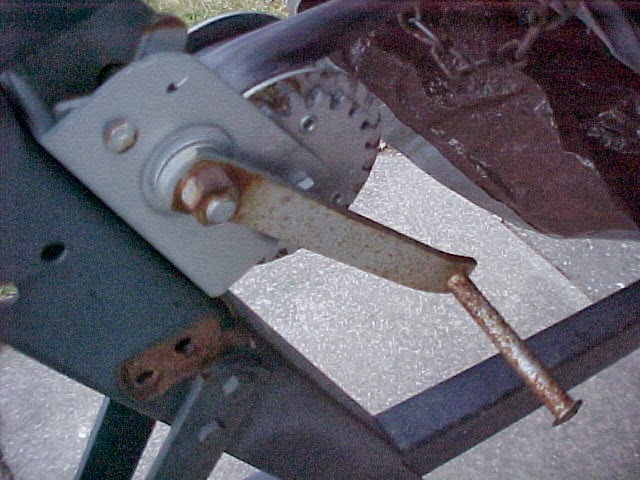
I got a new crank for the winch. It was missing the handle. Cranking the bare rusted metal was no fun.
The trailer also got some other new stuff in Feb, 2012 including wheel hubs and stand!
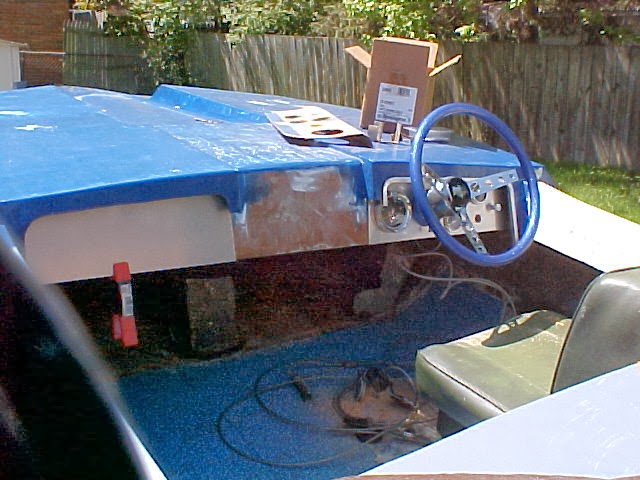
This is the steering wheel column. The blue metal flake wheel I got the year before fit perfectly with a hub adapter.
The steering assembly and new wheel, available from
Mooneyes.com, was finally fit into the dashboard.
Do a search in this blog for "mooneyes" for more info and "covico" for the history of the Batboat steering wheel.
It fits good in the dashboard. The gauge, light switch and ignition cut out holes are marked on the dash template with yellow paper.
Here is the dashboard template and the metal I ordered from the net. It is thicker gauge aluminum. I don't recall the thickness but it won't dent. Maybe .063 or thicker.
I traced over the various instrument and switch positions to it and scored the protective plastic with my hole drills.
After that I traced the contour of the dash from the template and cut with my aluminum nibbler tool.
Fits perfectly! I scored the bottom edge of the aluminum and took note of the angle. A metal shop in Carrollton, MI bent it for me on a break machine.
Fits PERFECTLY so I drilled out the instrument panel holes!!!
The gauges are not the same used in the original 1966 boat but are from the same era and, most importantly, the same size of the original Mercruiser gauges.
The ones shown here were from a double engine Boston Whaler yacht. They cleaned up nicely, inside and out.
Batboat Steering Wheel Emblem
Elsewhere on this blog it was established that the Bat emblem on the horn cover on the original bow tie steering was red. I tried to duplicate the same thing but in proportion to the new, round steering wheel.
First I measured out the diameter of the horn cover and cut a pattern. Using freehand, tried to get a very close emblem by looking at photos. The pattern was folded in half and I picked the half that better matched the original, then cut it to get a symmetrical design.
| I traced the pattern to the back of a piece of black signage vinyl and cut it out. The below illustrates the rest. |
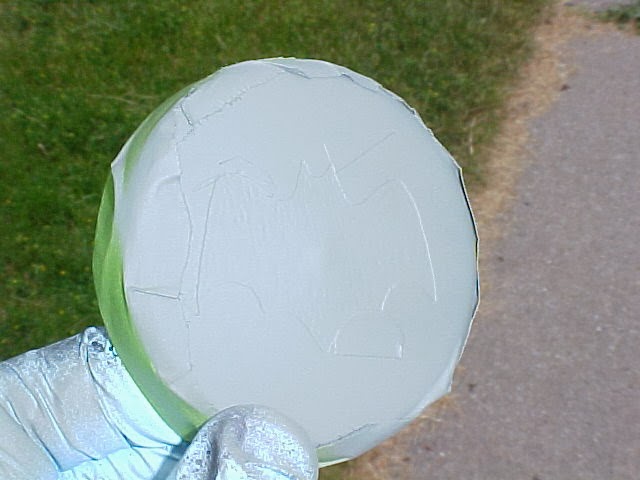
I roughed the surface with a Dremel tool. This will
give the paint some grooves to seep into, giving a much better bond to
the otherwise smooth metal surface.
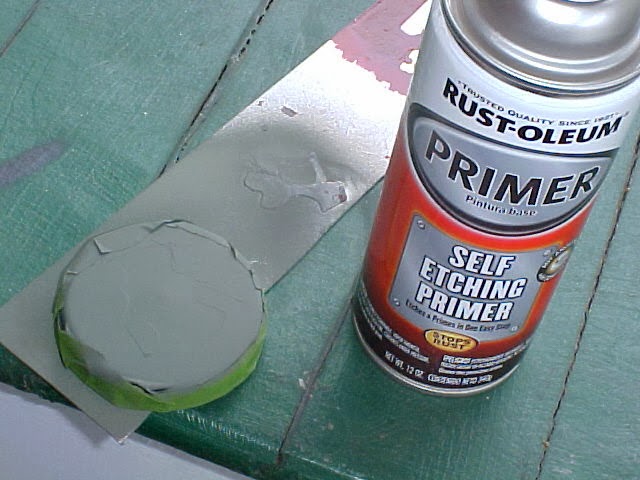
I hit it with several very thin layers of spray primer,
allowing each to dry completely. A day or two later I hand painted it over
with Testors red enamel.
DON'T BRUSH PAINT THE EMBLEM ON BY HAND. It leaves brush strokes.
To
get the red paint smooth it has to be sanded over and coated with clear coat, which
will make the red enamel bubble and lift from the metal. After several
days I got it right but I would have been better off using the Testors
spray can red and be done with it in a day.
 |
| Turned out looking good!!! The new horn cover emblem was
not exact to the original but close. There is no way to get it perfect because, so far, there are only two photos I've found so far and the one below is the clearest. |
I became so preoccupied with finding a new place to live that not much else was done in 2012.


