Its been a long time but I am back.
In late 2012 I bought a house in a different area which caused work on the Batboat to stop.
Here are some of the photos of the progress from the summer of 2012.
More to follow.
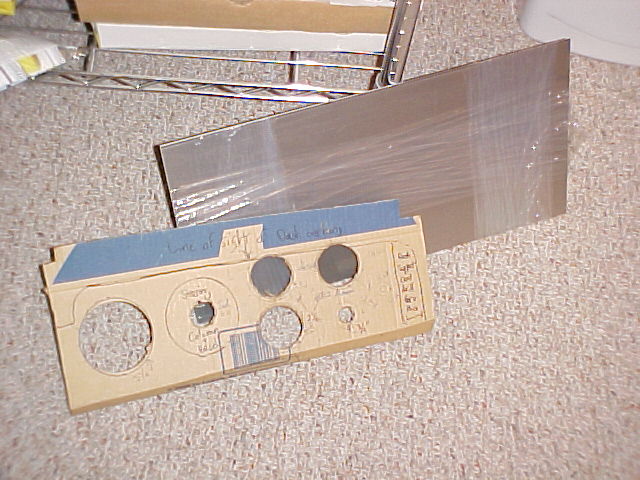
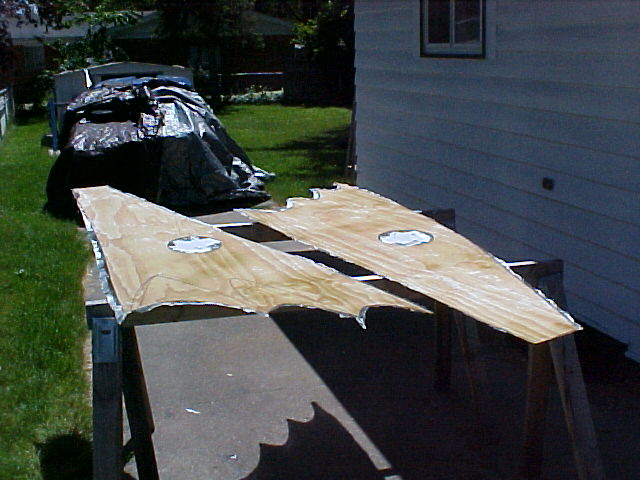
The template for the new dash board.
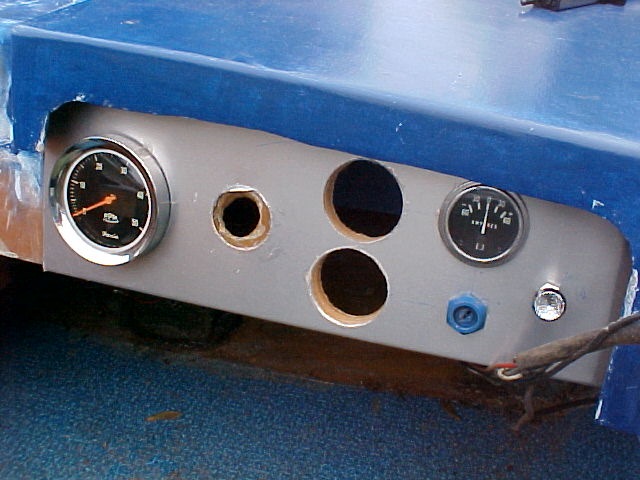
Holes for the gauges are marked and cut.
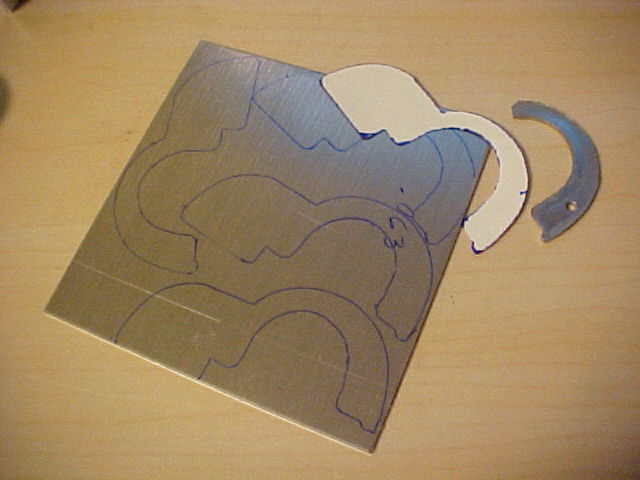
The horn cover bat for the steering wheel is based on the design used on the prototype bow-tie steering wheel mentioned elsewhere in this blog.
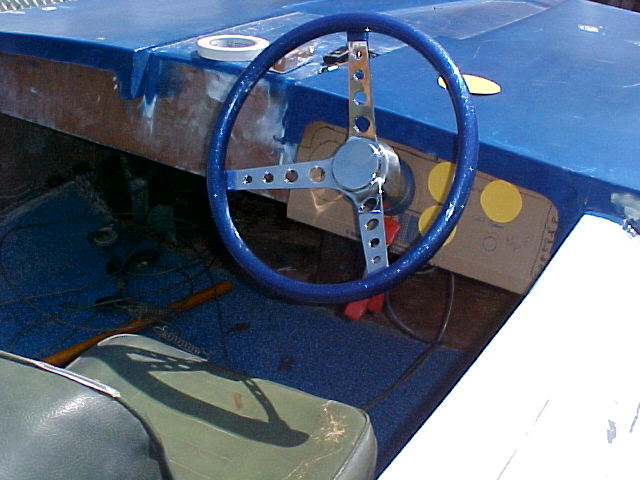
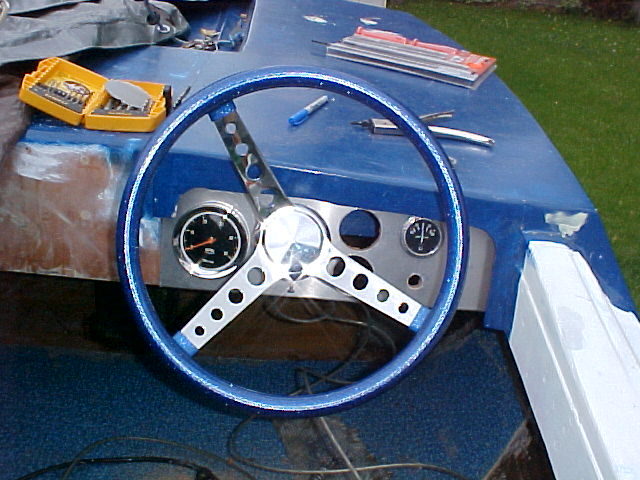
All is put into place temporarily.
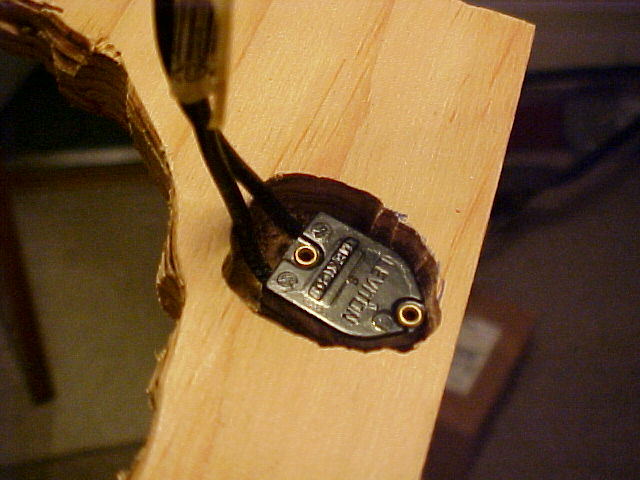
Fixing the historically correct bow light with the identical gauge of aluminum used in the original, broken part.
Gage light up now.
More work on the horn cover.
Turned out alright but I would have been better off spray painting the emblem on rather than paint.
As of 2016 the detecto scope still isnt finished. Here is how far I got on it.
The plexi glass that will act as the radar indicator. It will rotate backlit behind the green oscilloscope grid.
I ditched this design for the fin. The plywood is too heavy. I plan to make a new one out of just fiberglass cloth.
Light parts for the detecto scope.d
Laminating black Naugahyde to the detectoscope.
Back in 2012 I had a tight dying business. Only did 1966 Batman. It officially closed June 17, 2016 as I haven't had any requests since 2012.
New wheel covers did not fit right and I ended up putting another type on.
Stay tuned. I am endeavoring to have the Batboat finished in 2017.